And here is how I did it...
My piano is over sixty years old now. We bought it about seven years ago from a neighbor who had purchased it from a local college. It looked like this....

Not pretty.
So the first step is to sand the heck out of it. (I took the above picture after I sanded it) I thought I did a pretty good job getting all the varnish off. I used 120 grit. Since I was not re-staining it, a good sanding is all it needed. But now looking back, I would have given it a little more sanding love.
Next you need to get some tack cloth and rub all the sanding residue off.
Do not skip this step.

This is what it looked like after the first coat. It is supposed to look this bad. You want a light coat. I think I over did it a little and would have gone even lighter than this. * the lighting is horrible so the color looks a little off*

You wait a couple hours until dry and then sand. I used 120 grit again. Use tack cloth to get residue off. Apply second coat.


Then sand and tack cloth again before applying third coat.

This is the point I decided to take the front of my piano off. This is what I discovered...

...those would be canning tops. Hmmmm....I wonder who put those in there? No wonder it was sounding funny!


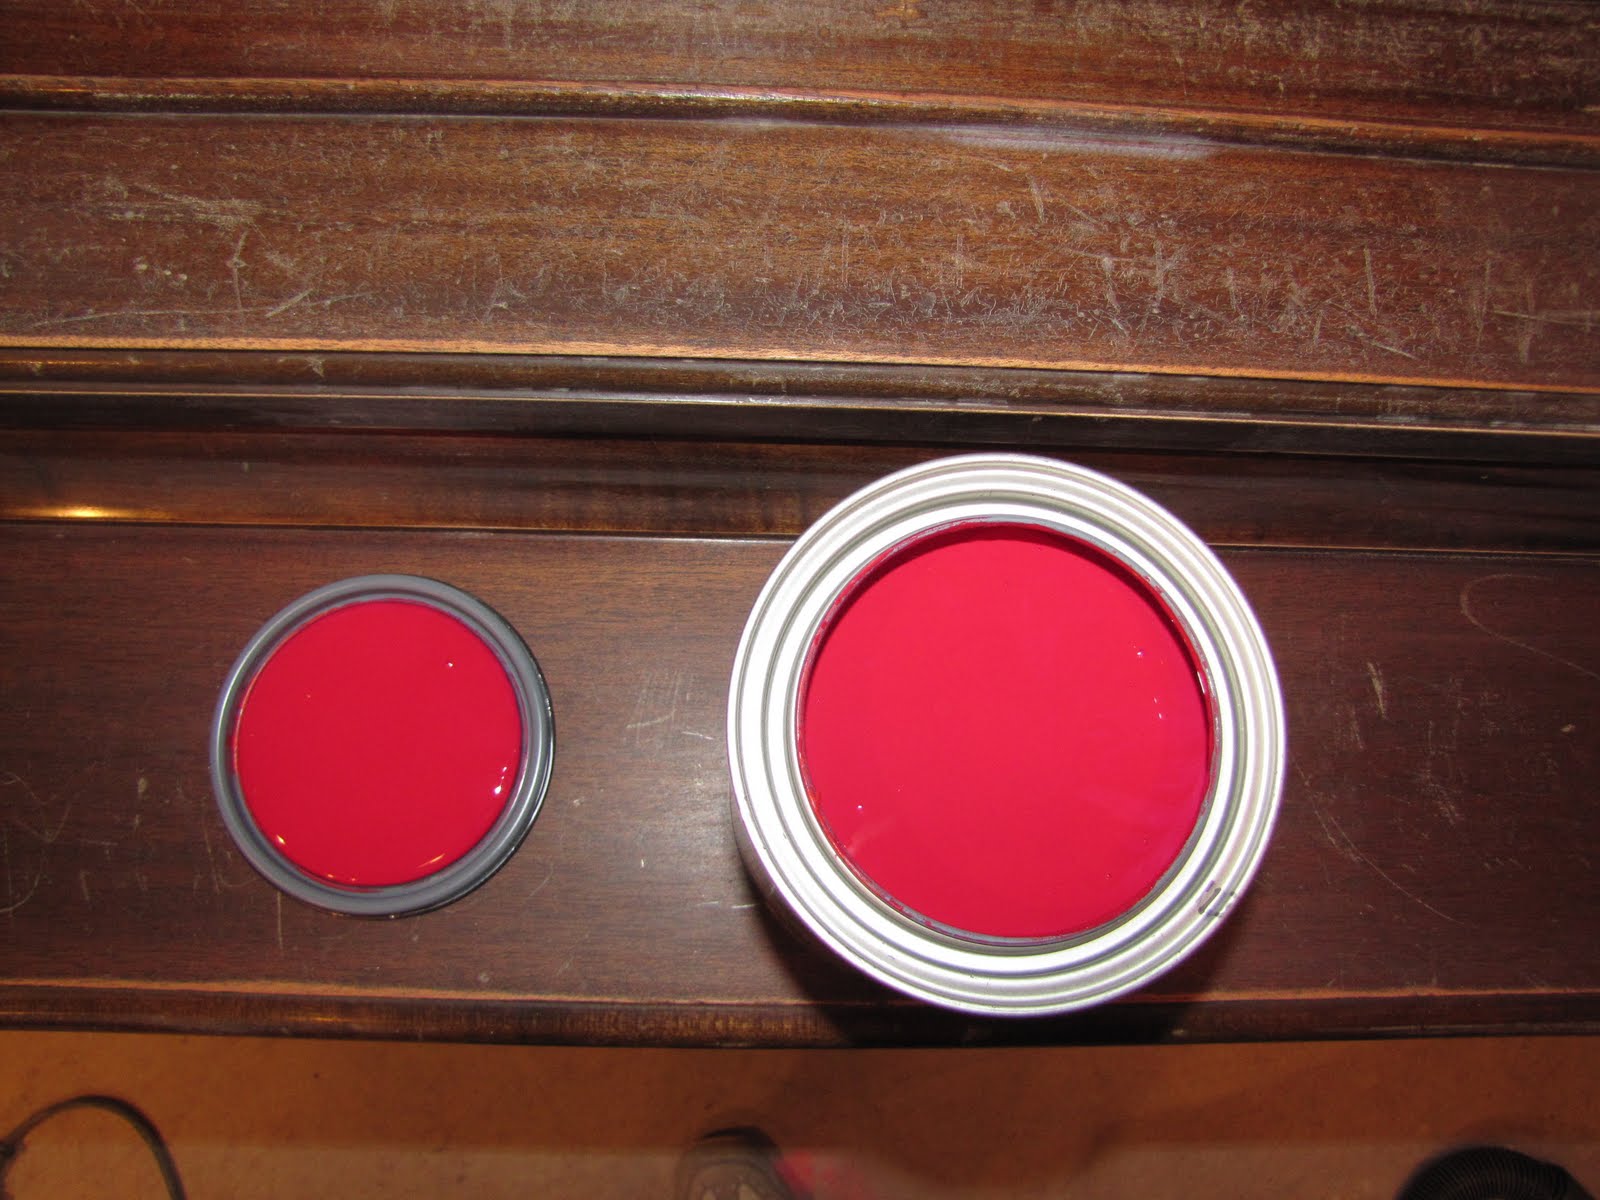
This is also the point I decided that the color I had chosen was to pinky red so I went and got another color.
So I sanded, tack clothed and applied paint two more times. Yes, that would be five coats and random touch ups. But it was so worth it, because this is exactly the spice my living room needed. (These pictures aren't doing it justice. It is not as shadowy as it looks in these pictures)


Those knobs belonged to a cupboard that my great grandma had. Now I get to have a little piece of her in my room and my girls love that they get to touch something that their Abuelita Tina touched everyday. It's their favorite part of the piano...and mine too.


So there you have it, a piano painting tutorial because I know you have all been dying to do this! I have to say that I have done a TON of projects in my life...sewing, painting, building, crafting, redecorating, etc...but this was definitely one of my most favorite projects...EVER!
BTW...I used 2qrts behr paint plus primer. The first color was red velvet...the color I ended up with is "BARN" a Martha Stewart color, I had Home Depot make it in Behr paint because I prefer it... I also recommend using a small foam roller and a small sponge brush. I normally tell people to stay away from the sponge brushes unless you are doing a pre-school project, but in this case they were definitely helpful.


